Mud Kitchen Styling: A Photographer’s Guide to Capturing Childhood Magic
Hey there, fellow creative souls! Ready to transform an ordinary outdoor space into a magical mud kitchen wonderland that’ll make every parent and child’s heart skip a beat?
Why Mud Kitchens Are the Ultimate Childhood Playground
Breaking News: Mud kitchens aren’t just messy play zones – they’re creativity laboratories where imagination runs wild!
Quick Snapshot: What Makes a Mud Kitchen Epic
- Total Creation Time: Around 3 magical hours
- Difficulty Level: Easy to moderate
- Budget: Low to wallet-friendly
- Target Audience: Adventure-seeking kids and their awesome parents
Essential Tools for Your Mud Kitchen Photo Adventure
Camera Gear You’ll Need
Pro Tip: You don’t need a professional studio to capture stunning mud kitchen moments!
Camera Options:
- High-quality smartphone camera
- Mid-range DSLR
- Natural lighting (AKA free and fabulous!)
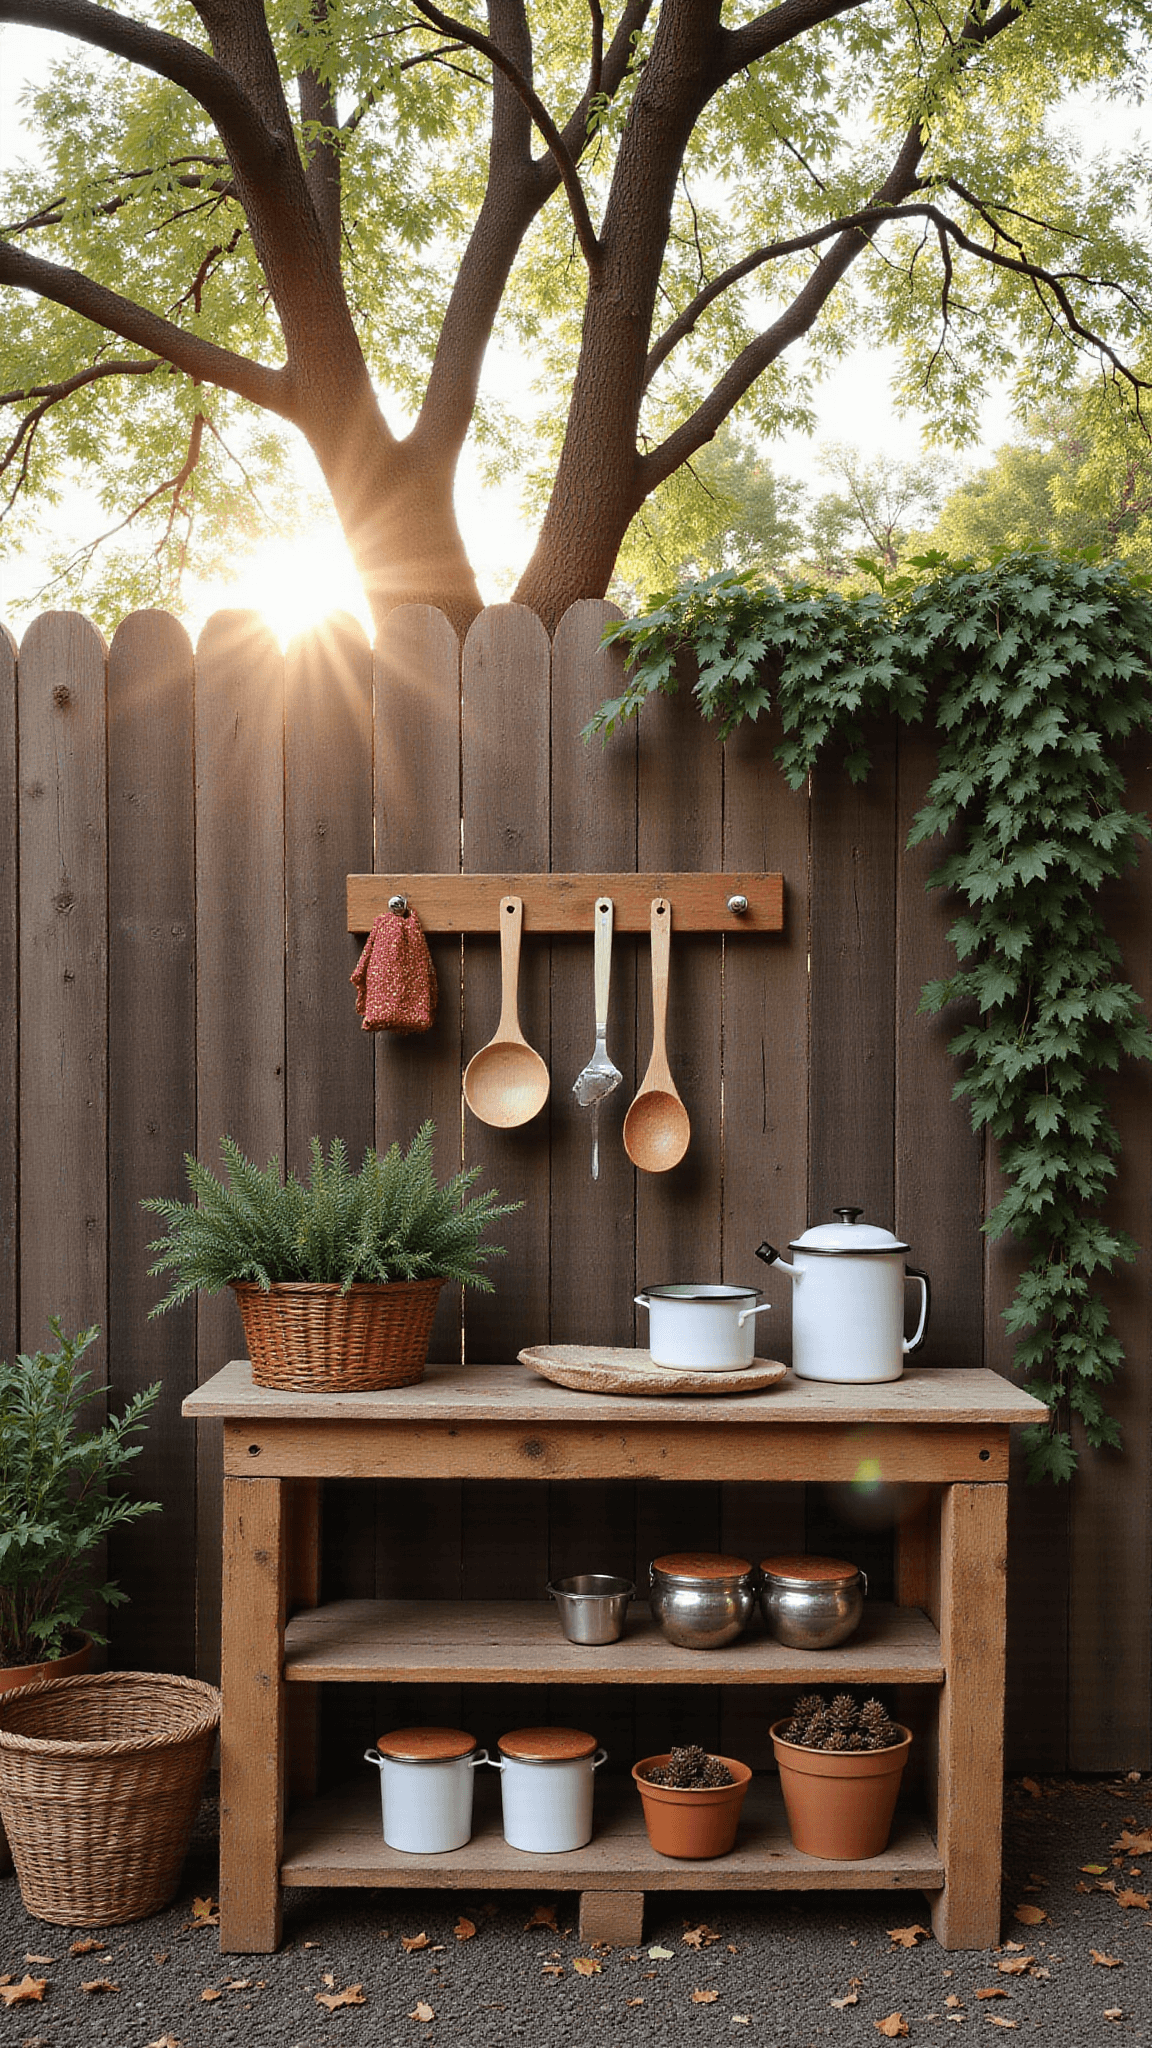
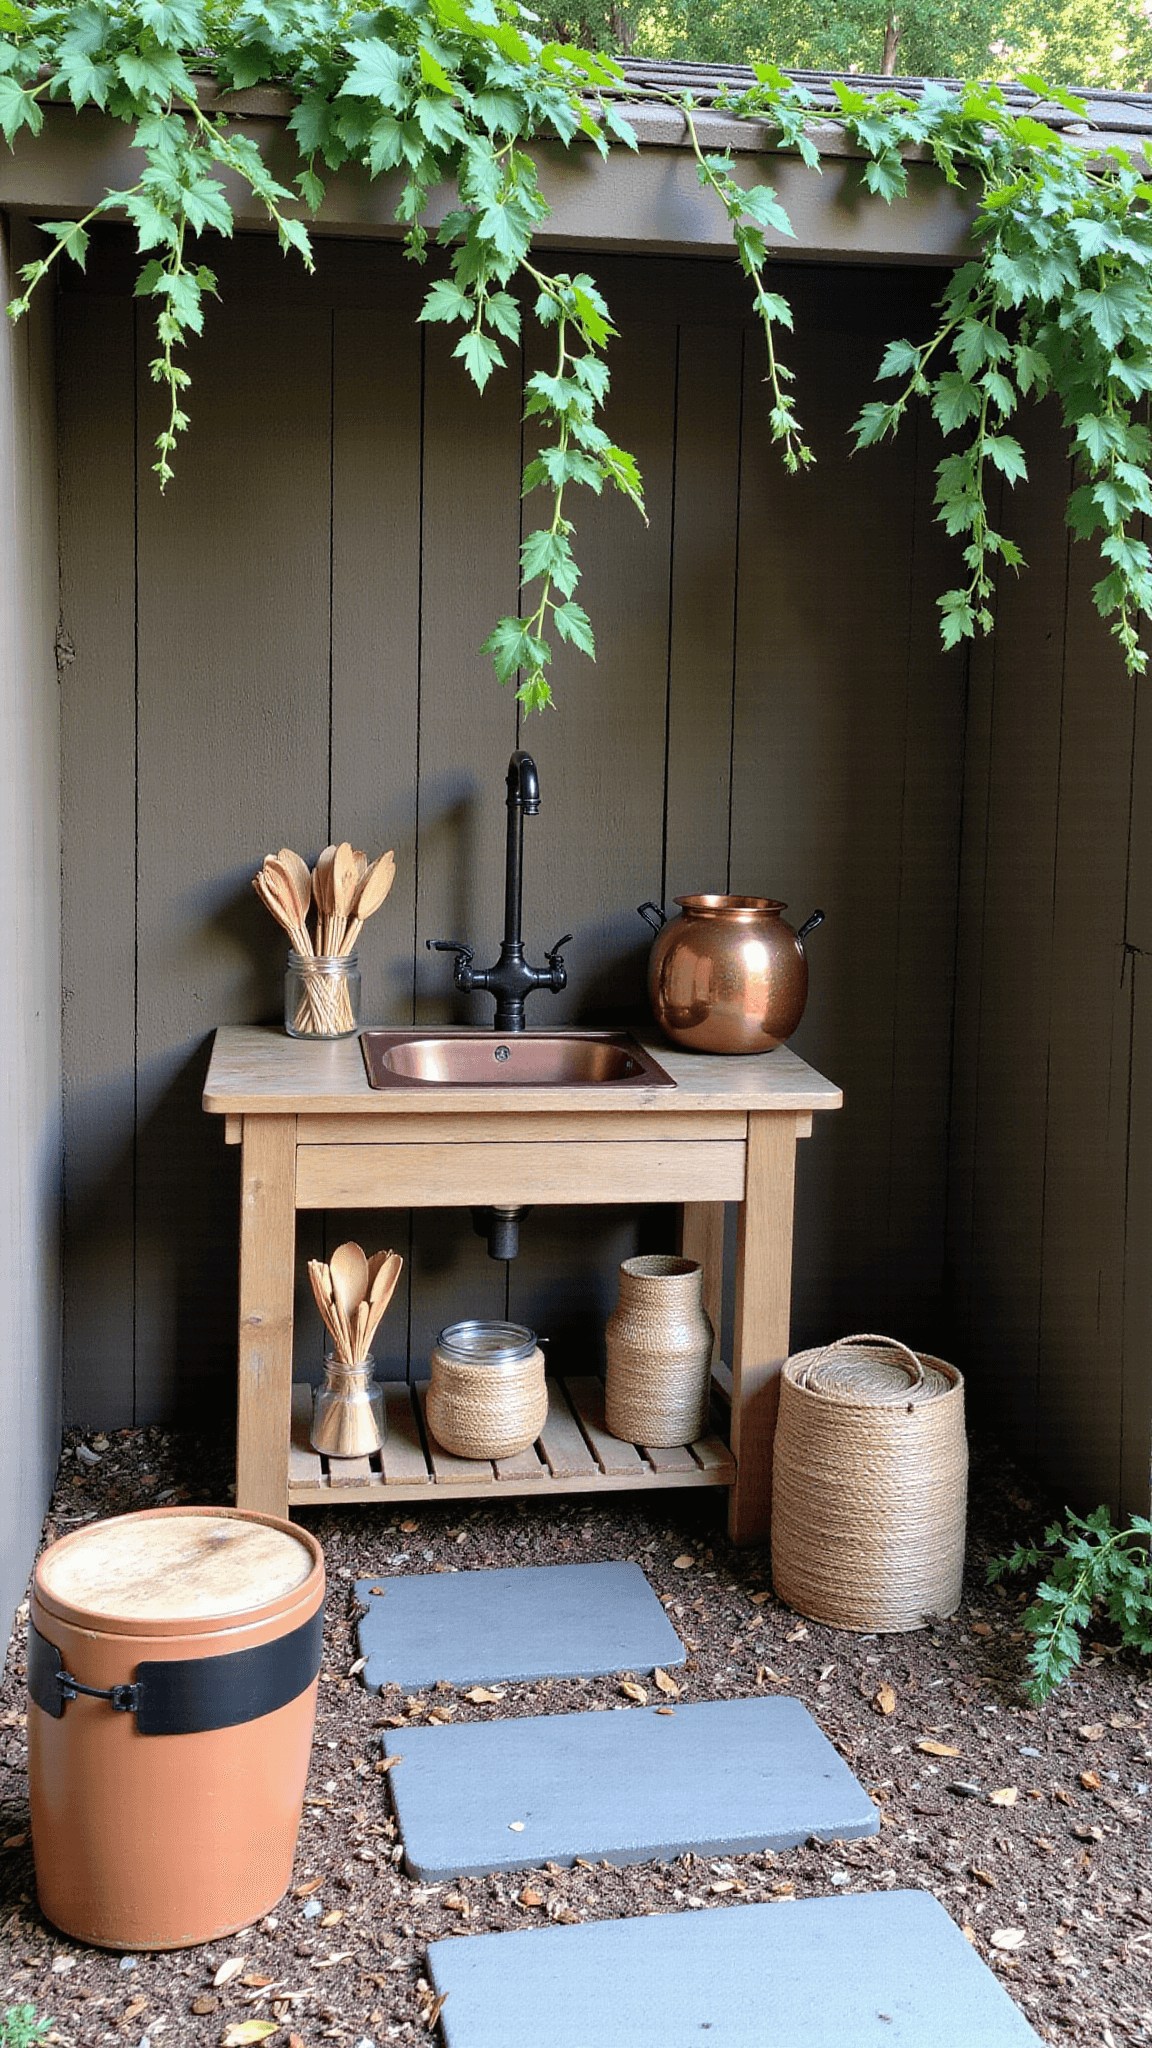
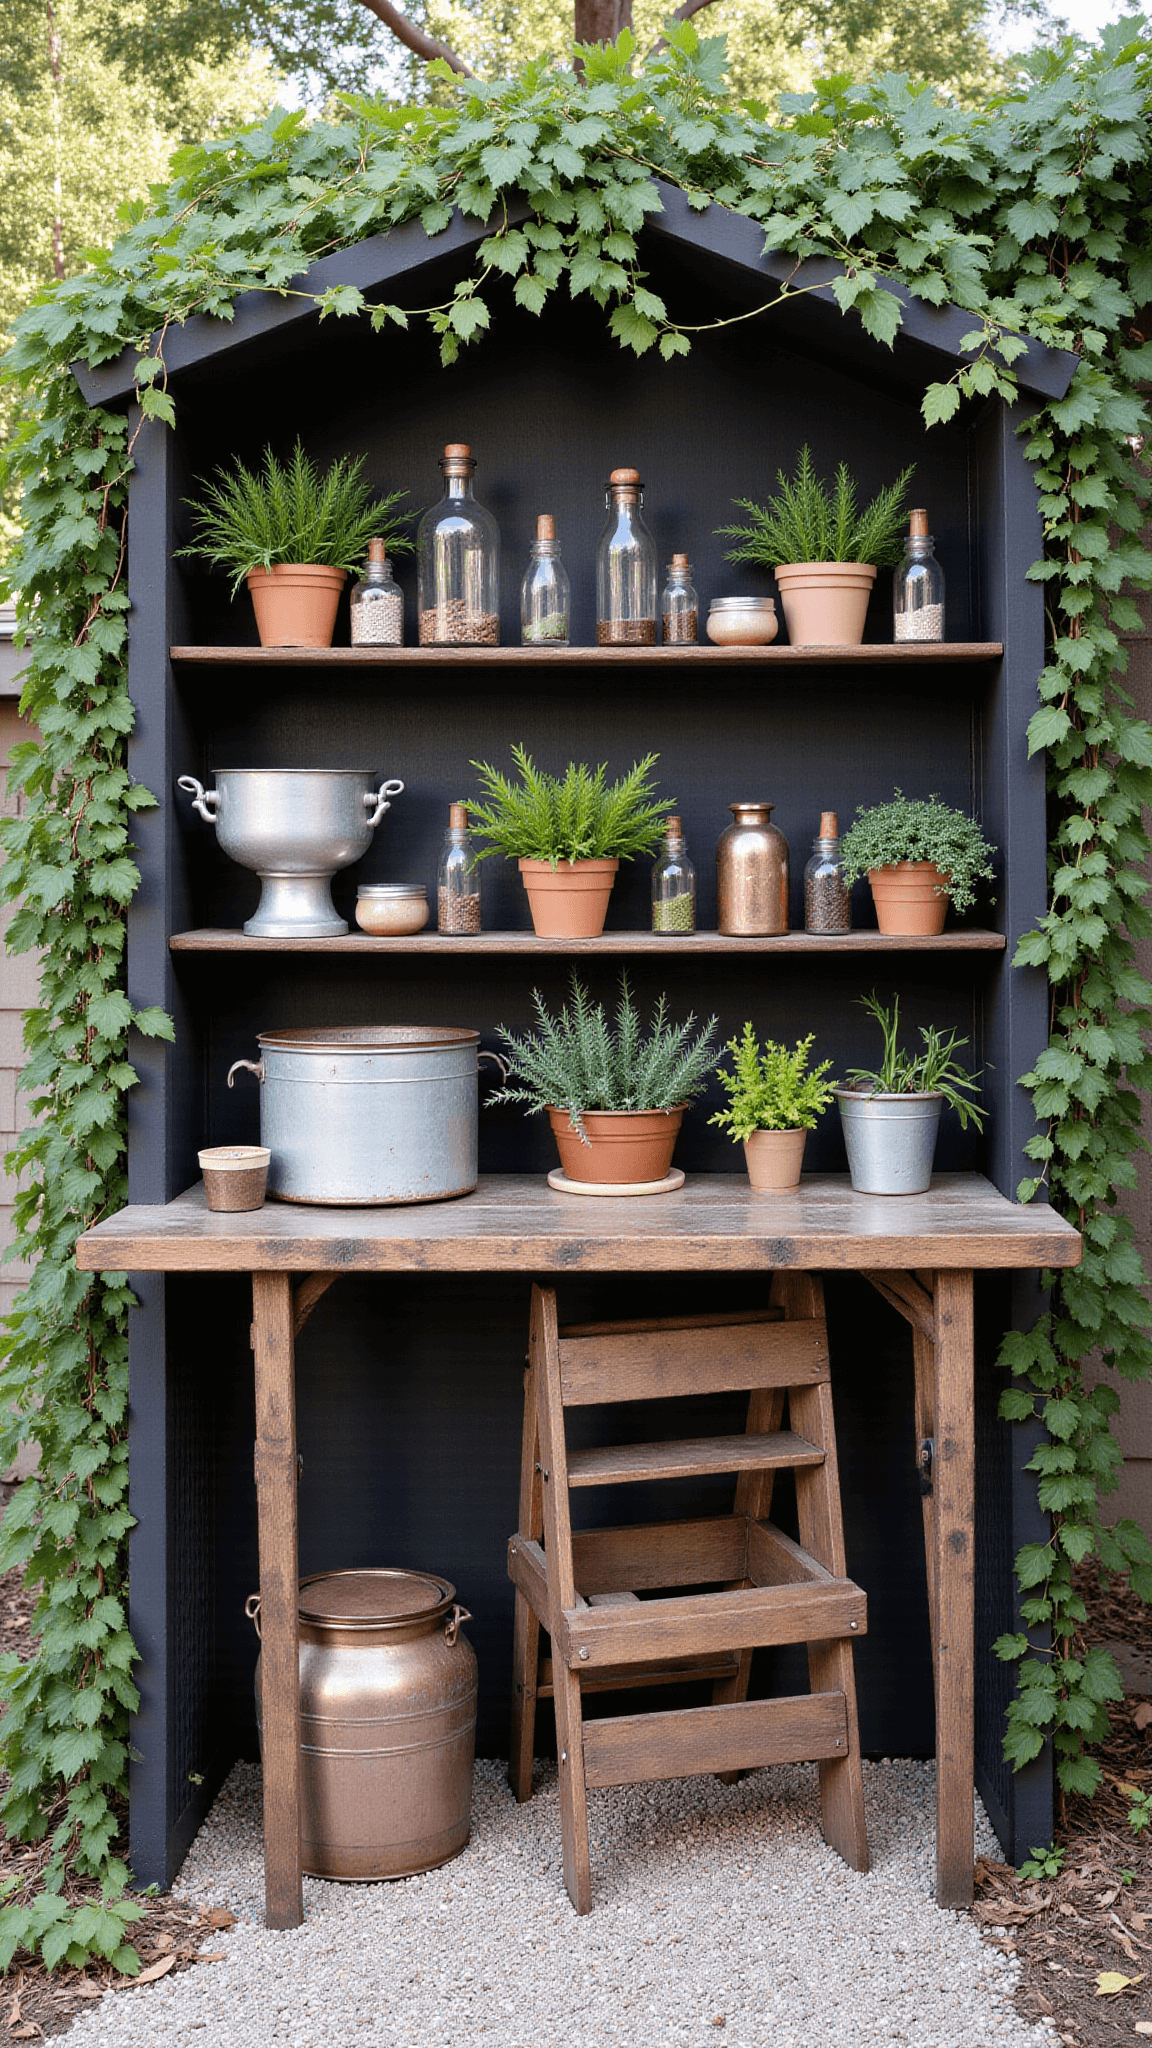
Must-Have Styling Props
- Vintage kitchen utensils
- Natural materials (leaves, twigs, flowers)
- Mud mixing tools
- Imagination (100% required!)

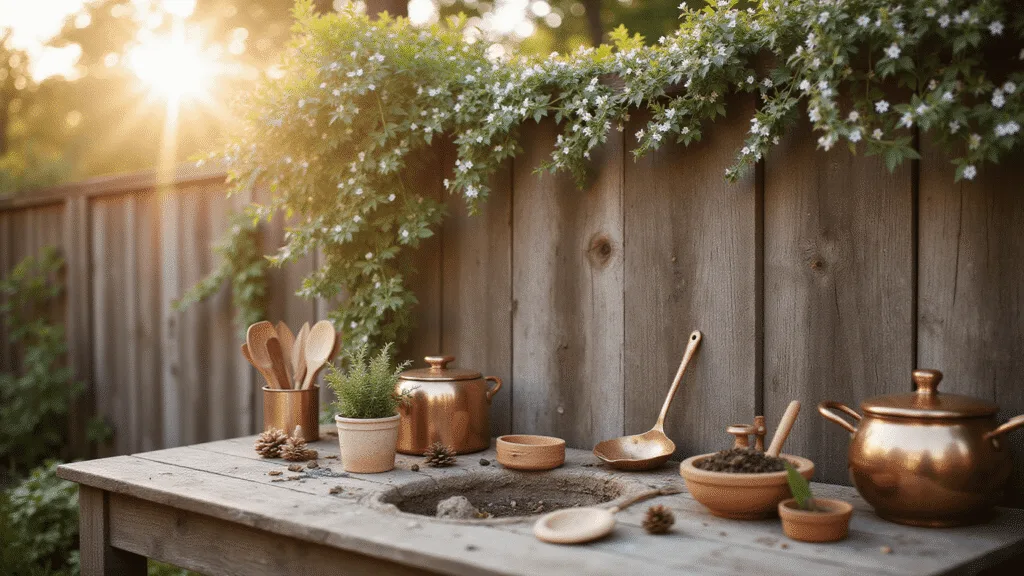
Styling Secrets: Creating the Perfect Mud Kitchen Scene
Color Palette Magic
Stick to earthy tones that scream “natural playground”:
- Warm browns
- Soft greens
- Gentle beiges
Composition Techniques
Photography Pro Moves:
- Use the rule of thirds
- Shoot from child’s eye level
- Capture spontaneous moments
Lighting: Nature’s Best Photography Assistant
Golden Hour Magic
When to Shoot:
- Early morning (soft, dreamy light)
- Late afternoon (warm, golden glow)
- Avoid harsh midday sunlight
Step-by-Step Mud Kitchen Photo Creation
- Clear the Space
- Remove distracting elements
- Choose a natural background
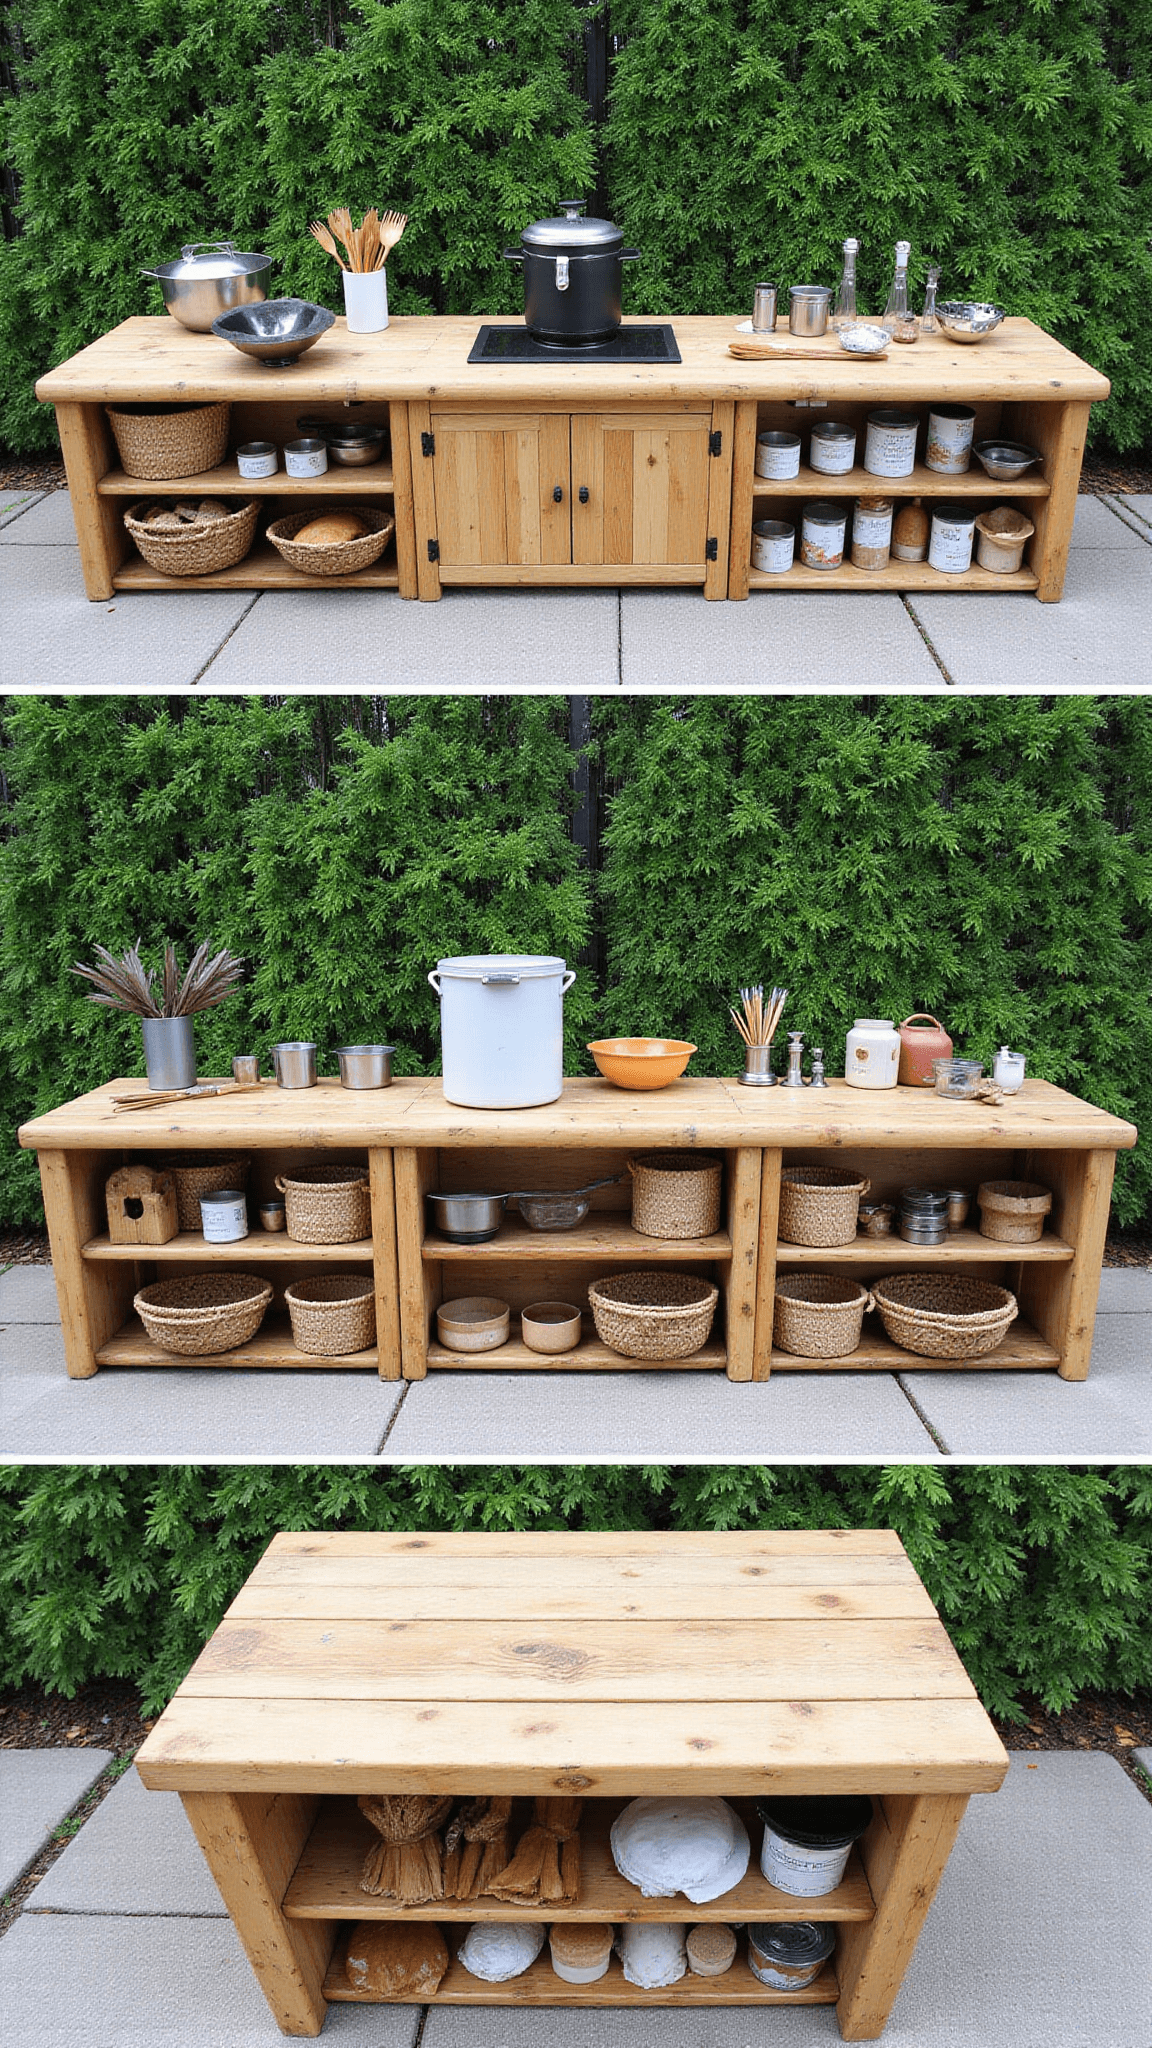
- Props Placement
- Arrange utensils playfully
- Mix textures and materials
- Create visual storytelling
- Capture the Moment
- Focus on child interactions
- Highlight textures
- Show the joy of messy play
Technical Tips for Stunning Images
Pinterest-Perfect Pins
Optimization Checklist:
- Vertical image format (2:3 ratio)
- High-resolution images
- Descriptive, keyword-rich captions
Common Mistakes to Avoid
- Harsh lighting
- Cluttered backgrounds
- Generic, uninspired compositions
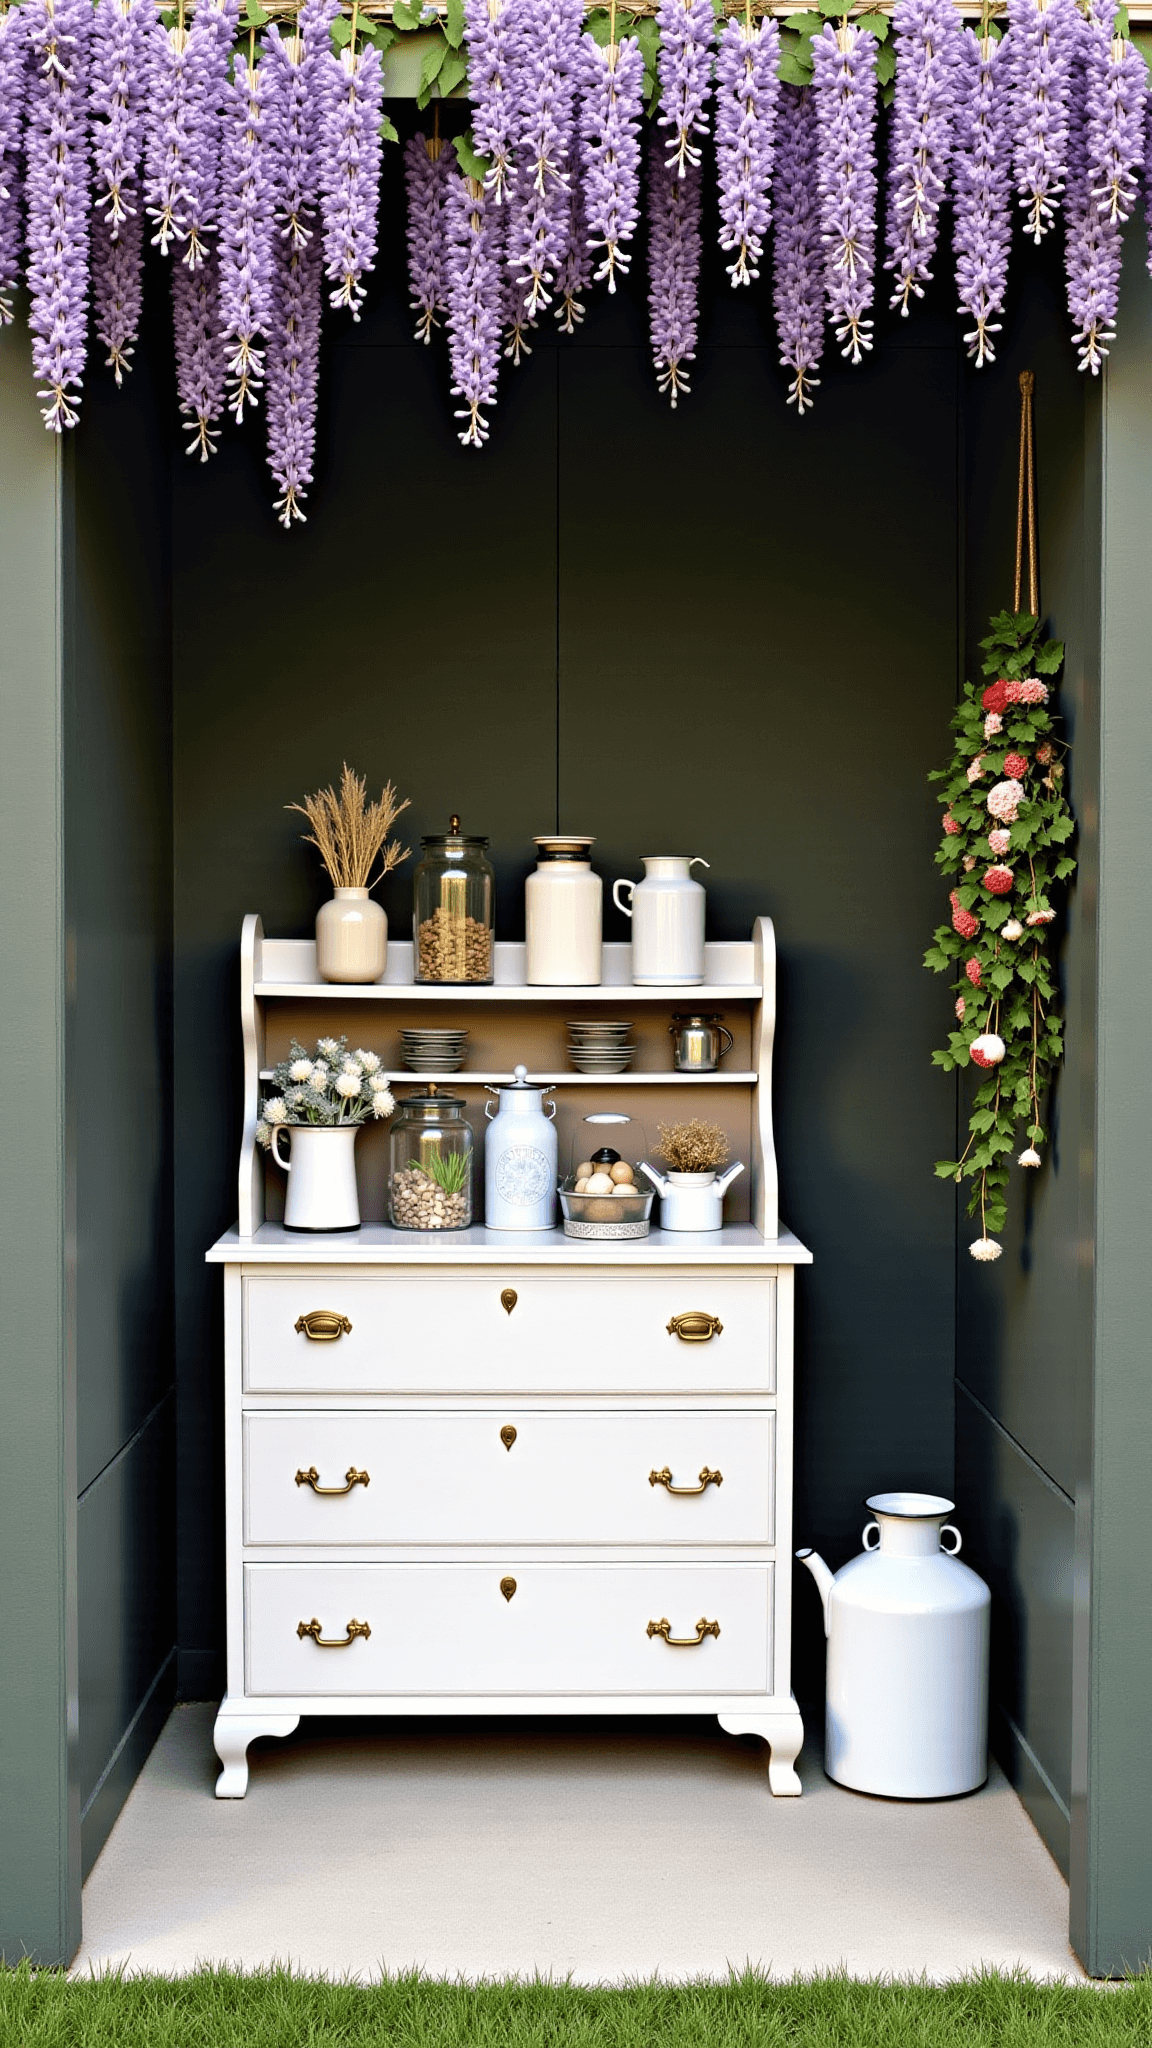
Seasonal Mud Kitchen Magic
Pro Styling Hack: Adapt your mud kitchen to seasonal themes!
- Spring: Fresh flowers and new growth
- Summer: Bright, sunny setups
- Autumn: Pinecones and fallen leaves
- Winter: Cozy, nature-inspired scenes
Final Thoughts: More Than Just a Mess
Mud kitchens aren’t about perfection – they’re about exploration, creativity, and unbridled joy.
Remember: Every splash of mud tells a story. Capture it with love, creativity, and a whole lot of fun!
Happy styling, creative souls! 🌿🥄🍃